Most beginner street photographers arrive with the same instinct: see something worth keeping, raise the camera, press the shutter, move on. What comes back is often nearly right. A wonderful gesture spoiled by a lamppost sprouting from someone's head. A face swallowed by shadow. A scene that felt electric at the time but reads as flat and muddled on a laptop screen.
None of that means your instincts are wrong. It usually means a handful of small, repeatable errors have crept in — and those are far easier to correct than talent is to acquire. Here are the ones that appear again and again, and what to do about them on your next walk.
Framing mistakes that ruin an otherwise good moment
The classic beginner frame is a subject dead centre with chaos around the edges. A bin bag bottom left, half a stranger bottom right, a traffic light growing out of a shoulder. The moment was strong; the frame was not. Street photography rarely gives you time to compose slowly, so the answer is to build habits that work at speed.
Cropping is the other recurring problem. Amputating people at the ankles or wrists looks accidental, and accidental is the one thing a photograph can't afford to look. Either include the whole figure with a little space, or crop decisively — mid-thigh, chest, shoulders. A bold crop reads as a choice.
Four fixes you can apply immediately
- Set the frame with your feet. Choose a spot with a decent background, then wait for someone to walk into it. This is how a great deal of good street work is actually made.
- Check the edges before you press. A half-second glance left, right, top and bottom will save more photographs than any new lens.
- Choose your crop line deliberately. If feet are going to be cut, cut them properly rather than clipping a toe.
- Watch your background first. A step to the left often puts a head against a plain wall instead of a busy shopfront.
One more: don't leave a subject stranded in the middle of the frame by default. Off-centre placement with something interesting in the space they are walking into usually feels more alive.
Exposure: exposing for the wrong thing
High-contrast scenes confuse every camera meter. Expose for the bright pavement and your subject drops into shadow; expose for the shaded face and the sky turns into a white rectangle. Beginner photographs tend to fail in the same two places: blown highlights in overcast conditions, and underexposed faces against bright backgrounds.
Decide what matters most and expose for that. If the face is the photograph, let the sky go. Most modern sensors hold shadow detail far better than they hold blown highlights, so a slightly dark frame is a safer bet than a washed-out one. Learn where your exposure compensation dial sits and use it — minus a third or two-thirds of a stop is often all it takes on a bright day.
Motion is the other half of exposure. People walking at an ordinary pace generally need around 1/250 second to stay crisp; cyclists and runners need more. If your camera has an auto ISO setting with a minimum shutter speed, set it to 1/250 and stop worrying about it. Blur can be beautiful, but it should be a decision rather than a surprise.
Consent, discomfort and the photographs you let go
This is where technique meets judgement, and the honest answer is that rules vary enormously between countries, cities and situations. In the UK you can generally photograph in public places, but that fact alone settles very little. Being allowed to do something is not the same as it being the right call in a particular moment.
Practical habits that keep you out of trouble and keep your conscience clear:
- Stay visible. Raising the camera and taking the shot openly is far less confrontational than sniping from across the road with a long lens.
- If someone notices and looks uncomfortable, a smile and a nod defuses most situations. If they ask you to delete it, delete it. The photograph is not worth the argument.
- Be thoughtful around children, vulnerable people and anyone in distress. Ask if you are unsure, and take no for an answer the first time.
- If you intend to publish or sell the images, check the rules that apply where you are and, where it matters, take proper advice.
Editing that undoes the work you did
Over-editing is the beginner's signature. Shadows lifted until the frame turns to grey mush. Clarity and sharpening pushed so far that hair looks like wire. A heavy preset applied to every image until a varied portfolio looks like one repetitive afternoon. Black and white is not a rescue service for a photograph with clashing colours.
Good editing answers a question: where should the eye go? That is usually about crop, contrast and a single local adjustment rather than ten sliders.
A simple order of work
- Crop and straighten first — everything else depends on the frame.
- Set overall exposure, then recover highlights before lifting shadows.
- Add contrast and use a gentle curve rather than crushing blacks.
- Make one or two local adjustments to draw attention to the subject.
- Convert to black and white only if the tonal relationships genuinely improve.
- Sharpen last, lightly, and view the result at full size before exporting.
Your next walk: one thing at a time
Pick a single weakness and give it a whole walk. Today, edges and backgrounds. Next time, faces in difficult light. Take one lens — something in the 35mm or 50mm region — and leave the zoom at home, because moving your feet teaches framing faster than any focal length ever will.
Aim for an hour and a half, take fewer photographs than you think you should, and review properly afterwards. Choose three frames you like and write one sentence about why each works. That small habit, repeated, will improve your street photography faster than any new camera.
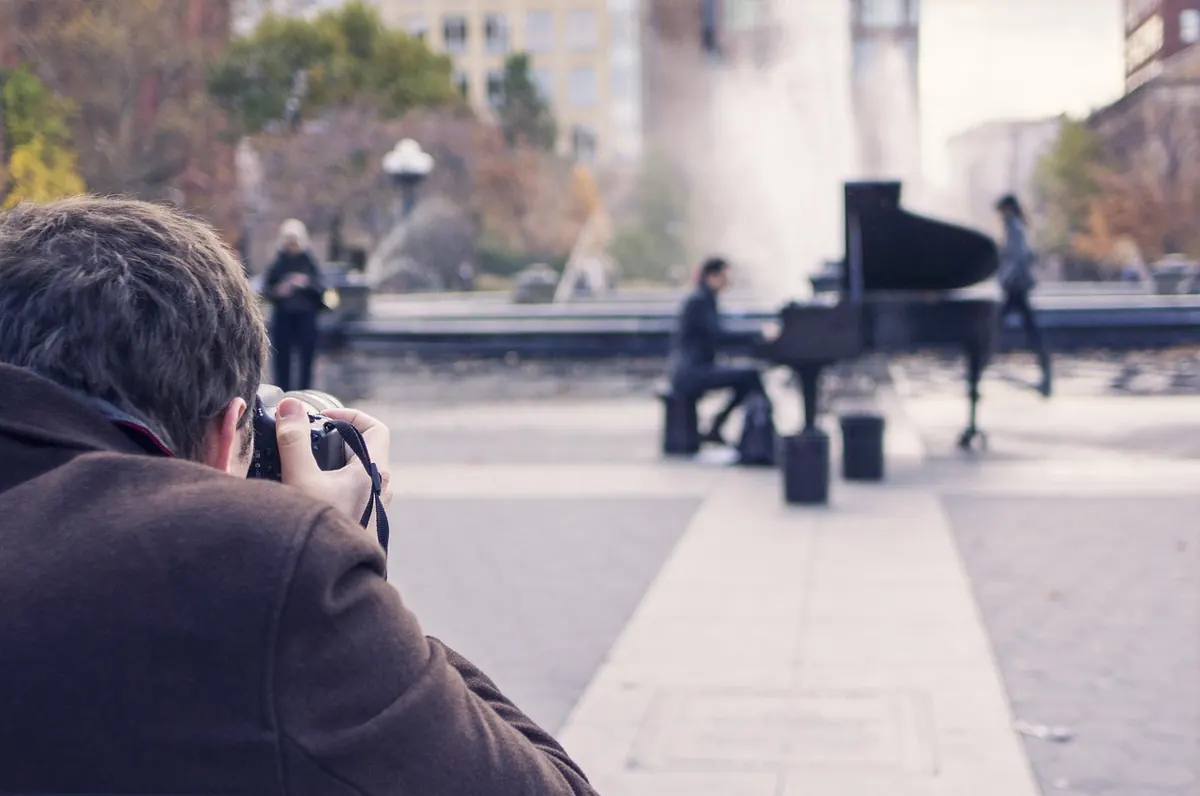
Photo: RyanMcGuire / Pixabay